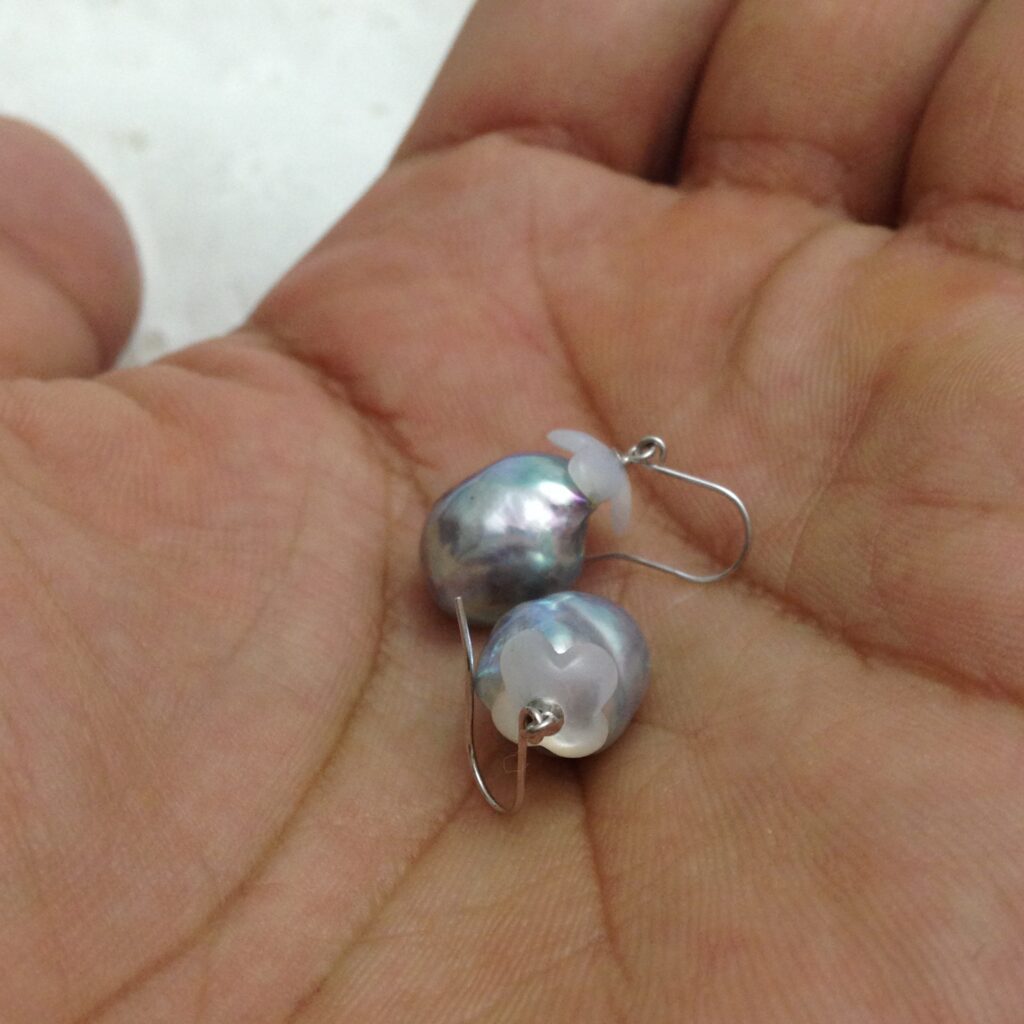
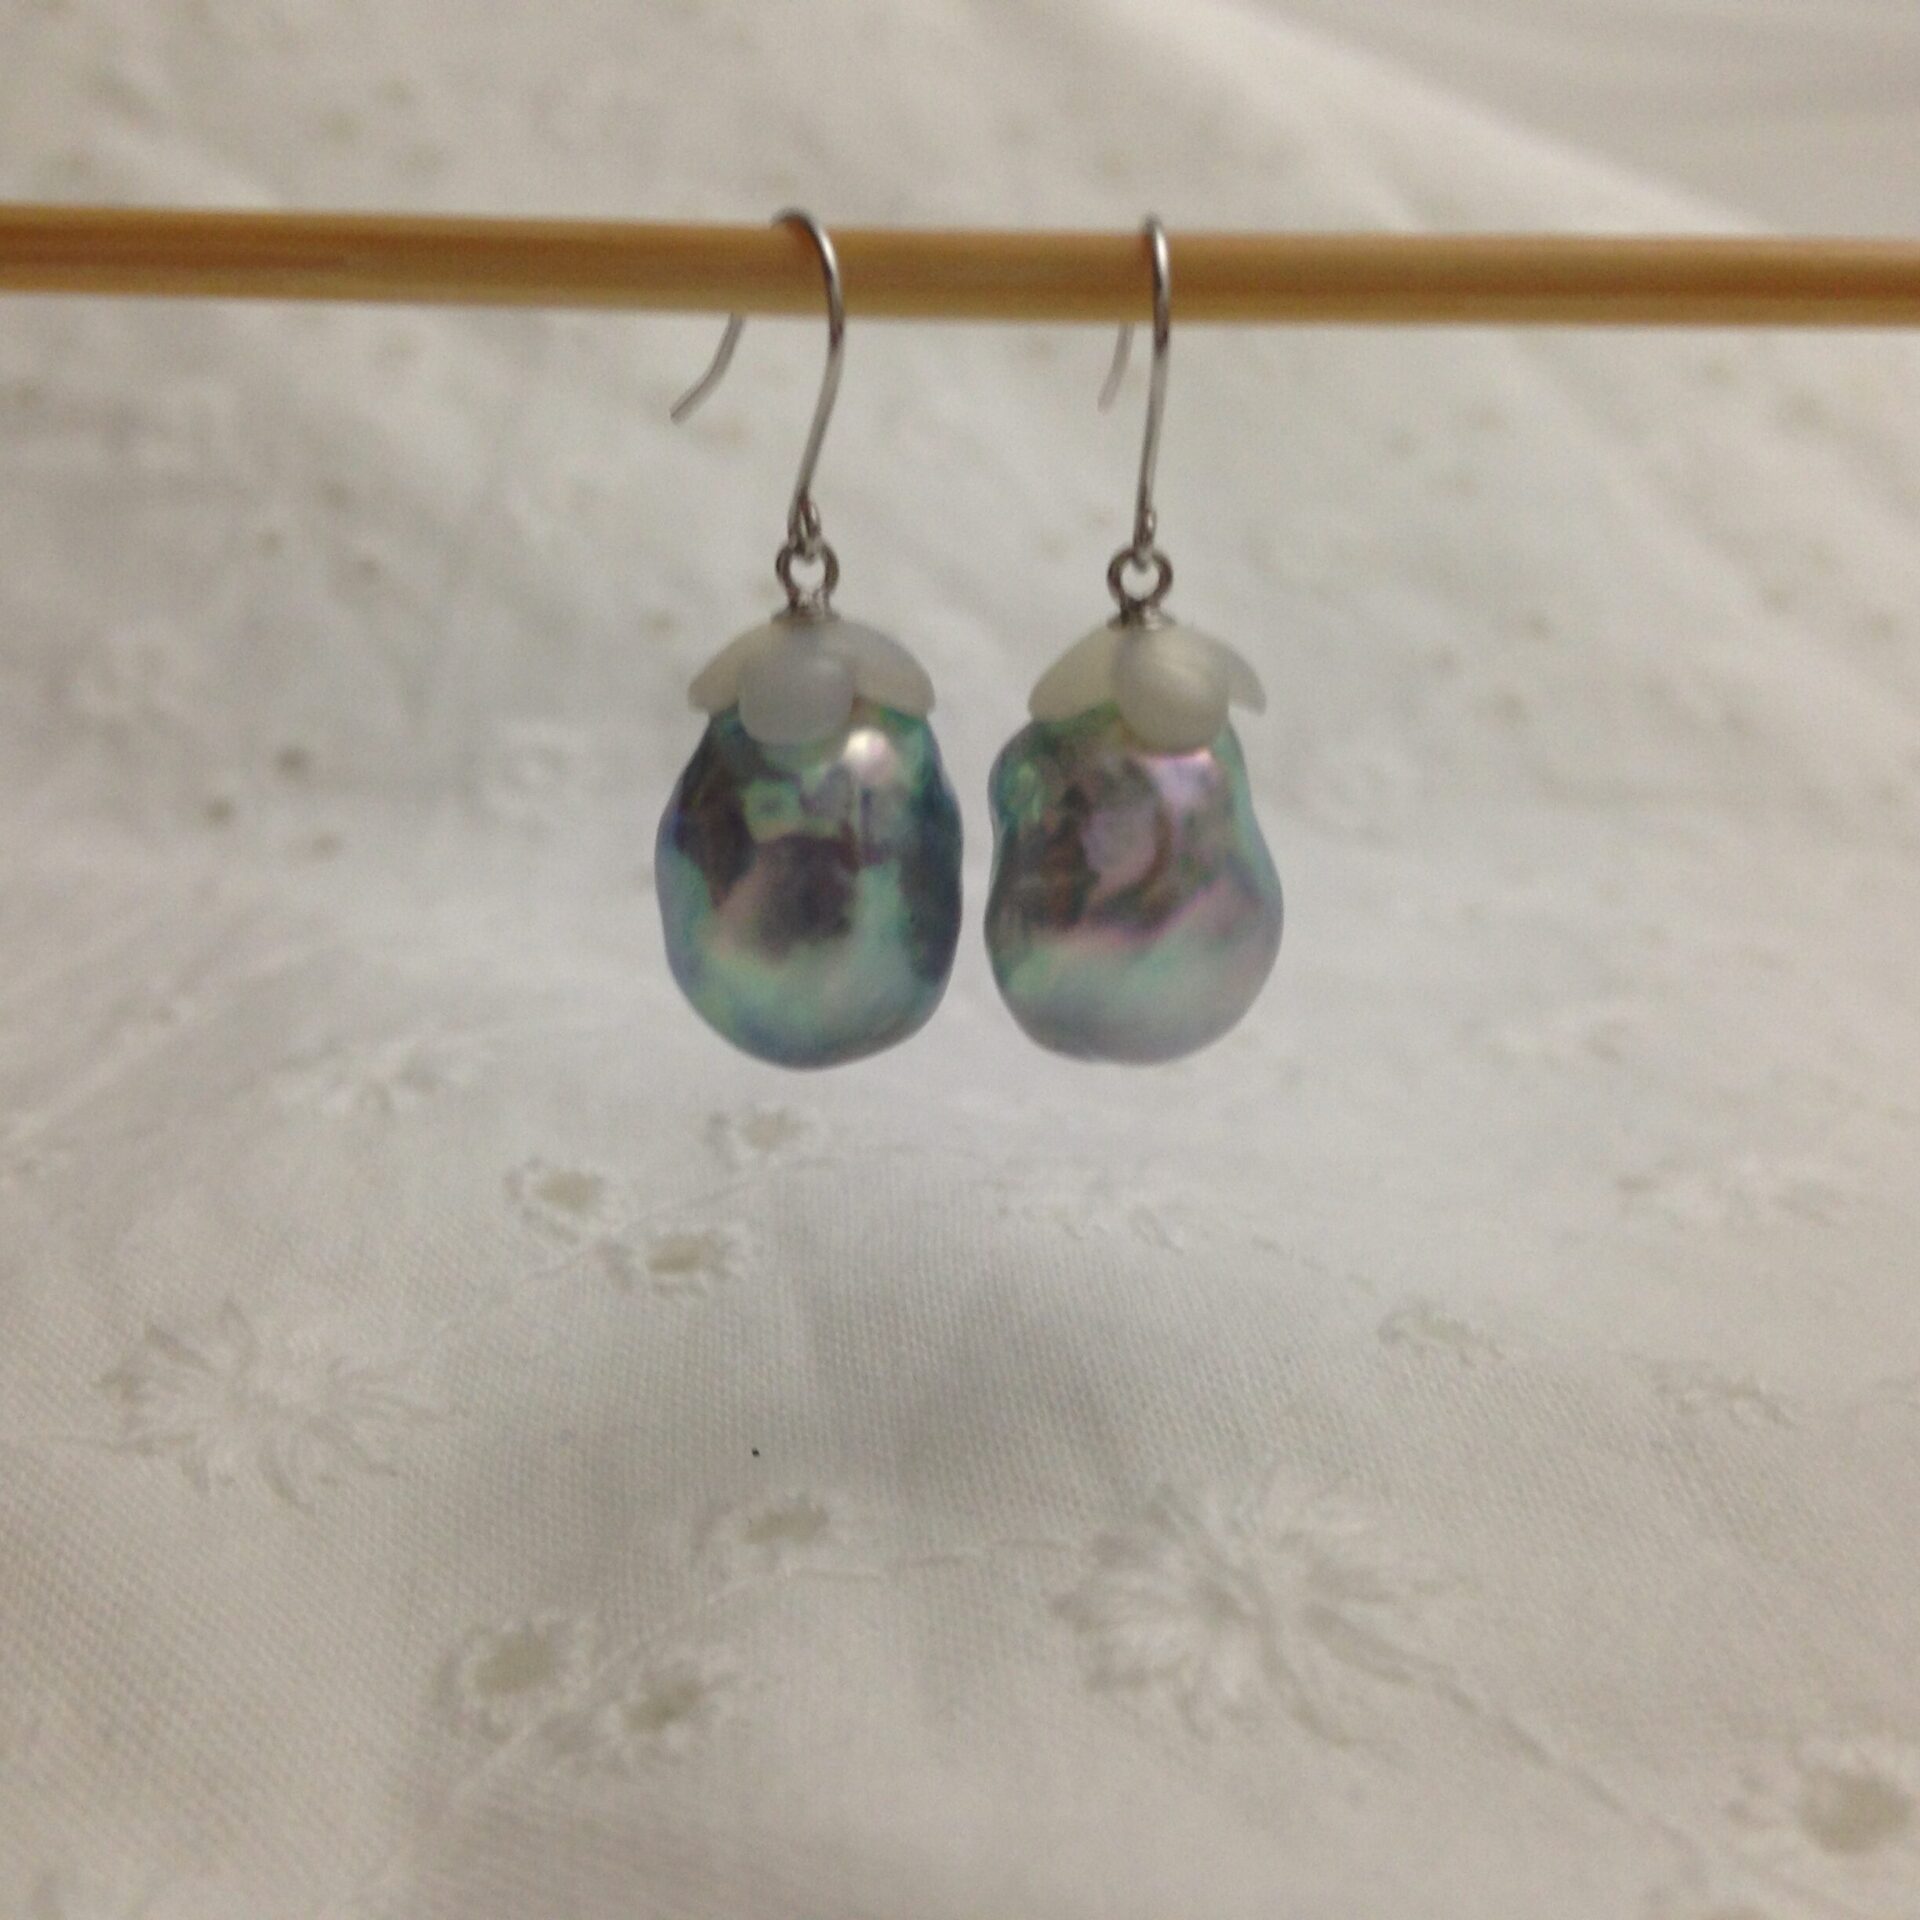
I will guide you through the simple process of making the earrings pictured above.
When making pearl earrings, first find the face of the pearl.
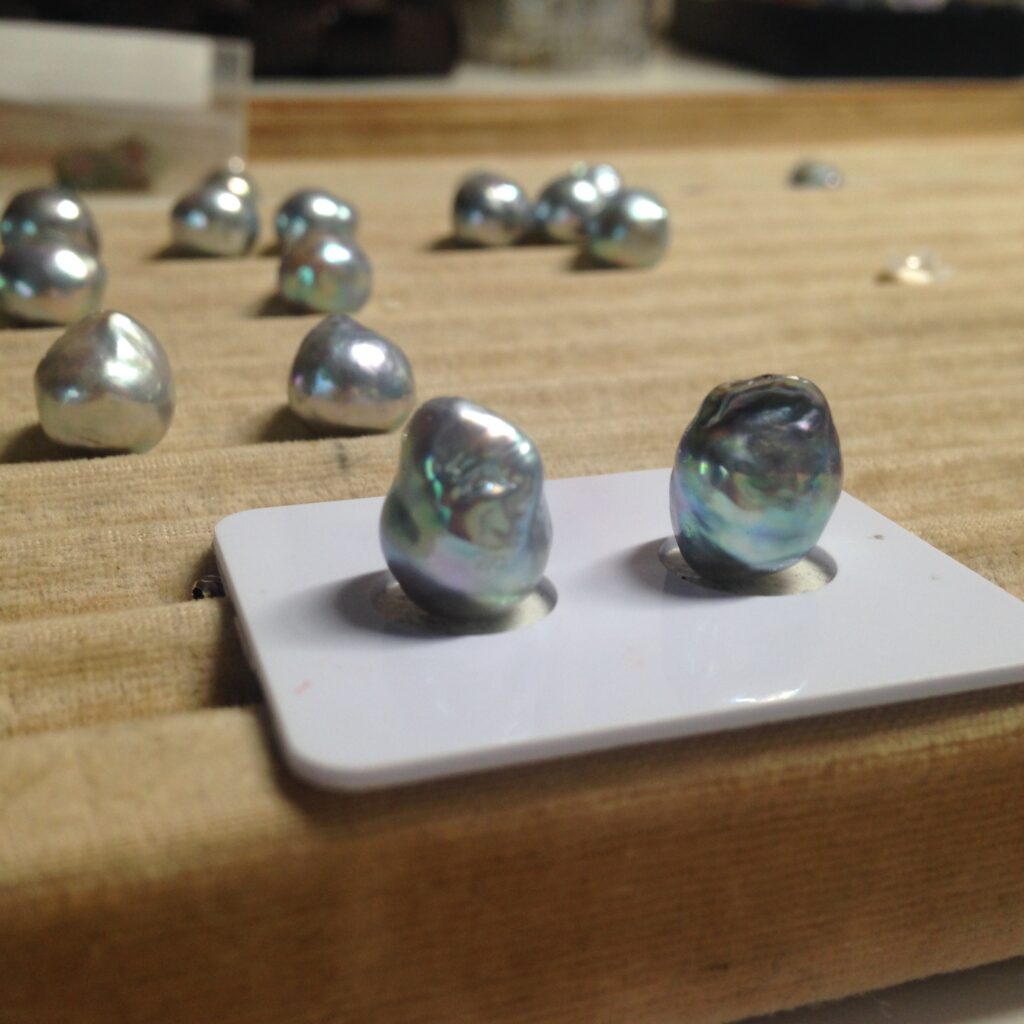
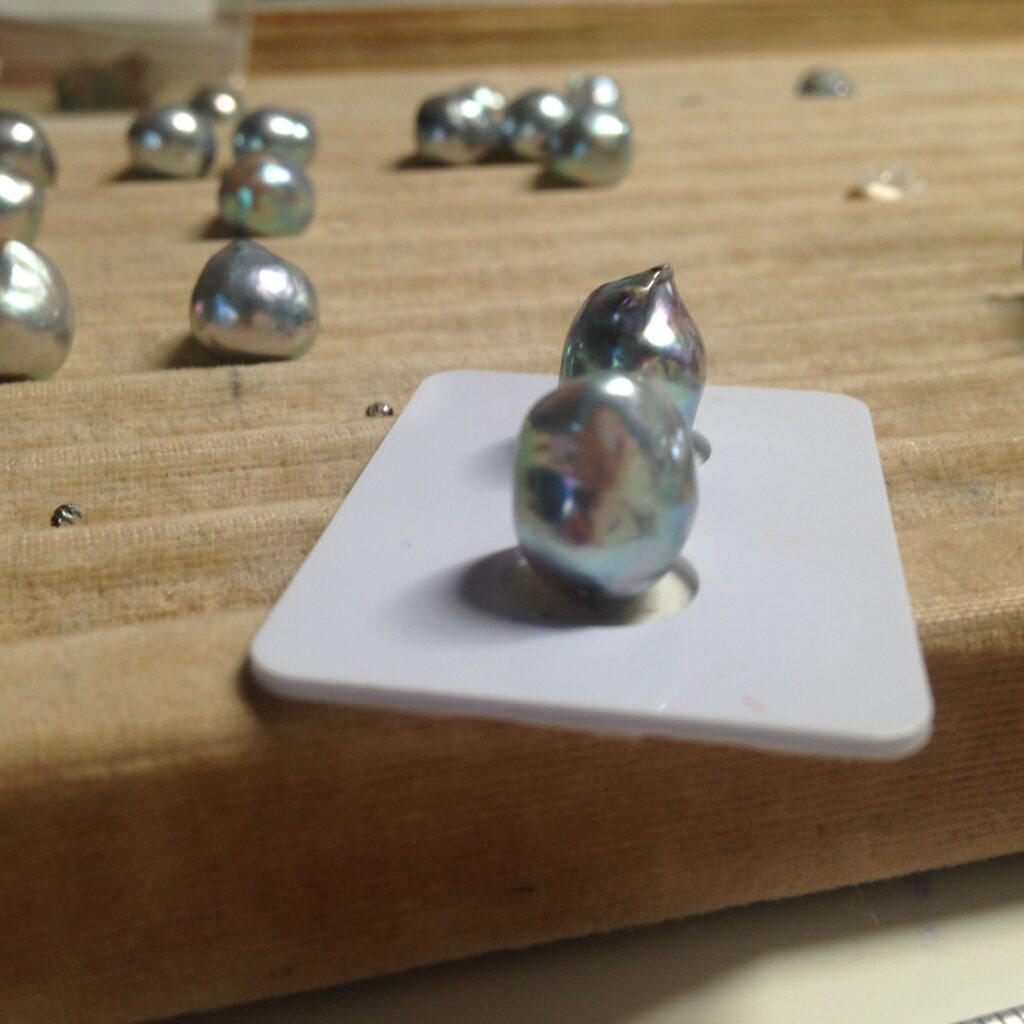
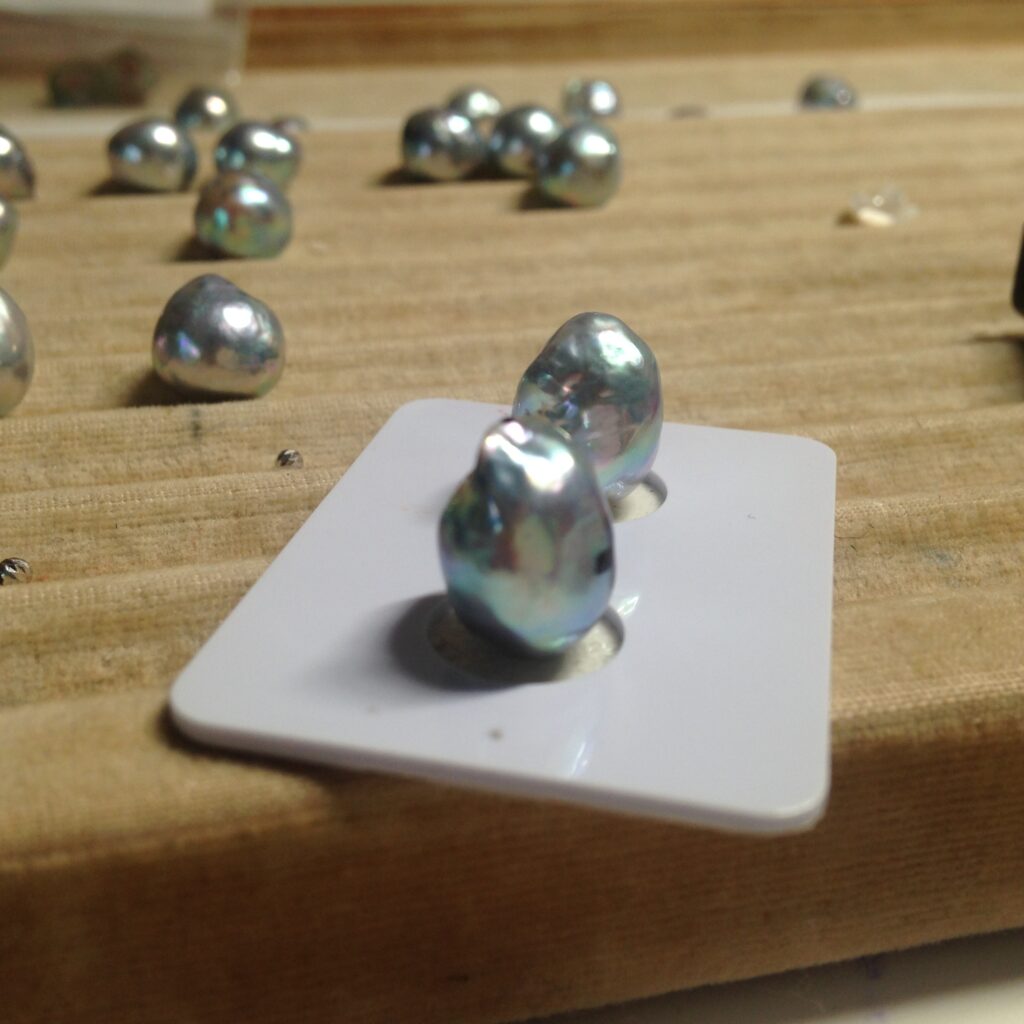
Look at the pearl from 360 degrees and select the side that has the least wrinkles and wounds, the most luster, and the most beautiful color. If it is a pearl that is round and has no wounds, the task of determining this face seems easy, but it is actually difficult. I can look around 360 degrees and it is beautiful everywhere, but it is quite difficult to find the most beautiful side among them. For me it may still be easier to find a face in the case of baroque pearls than in the round and fine pearls.
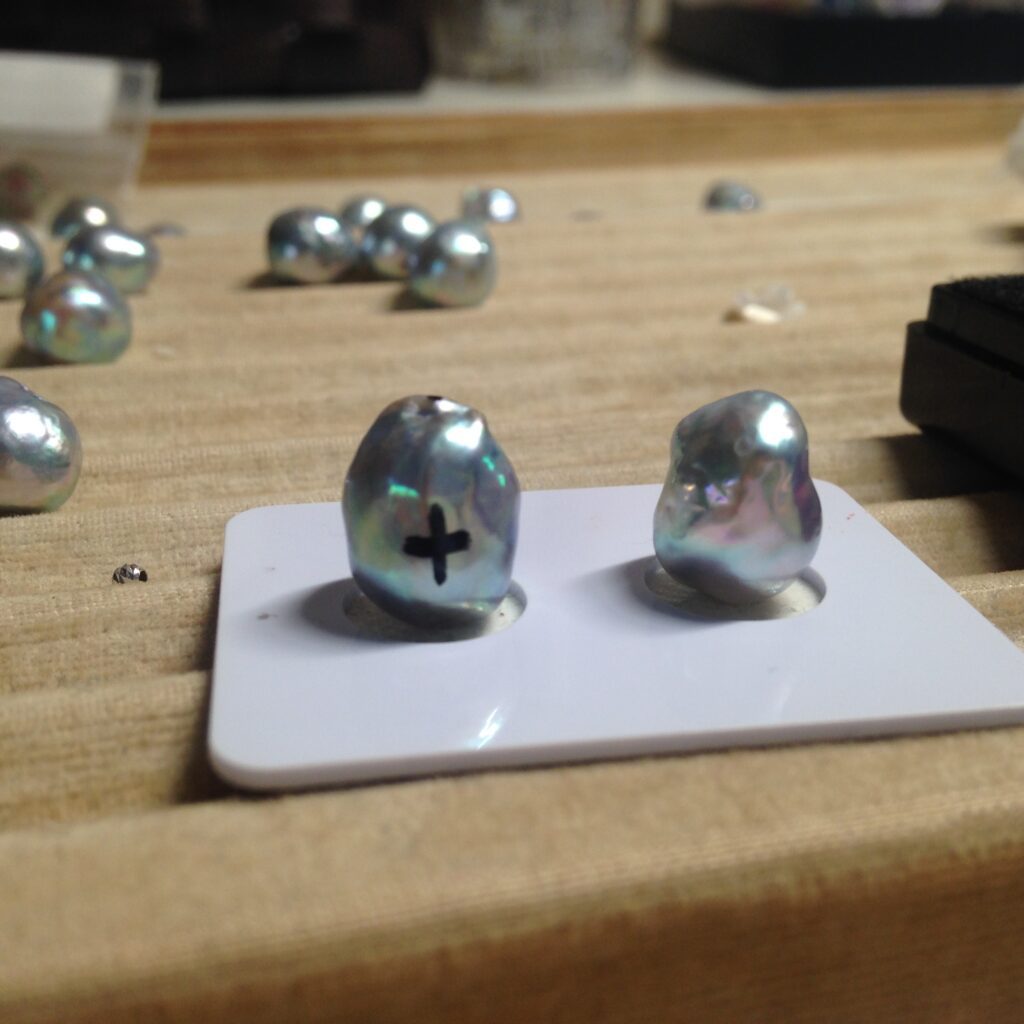
Once the face is decided, mark it. Attach the fittings so that this side faces the front. Even if I write with permanent marker, it can be easily erased with nail polish remover.
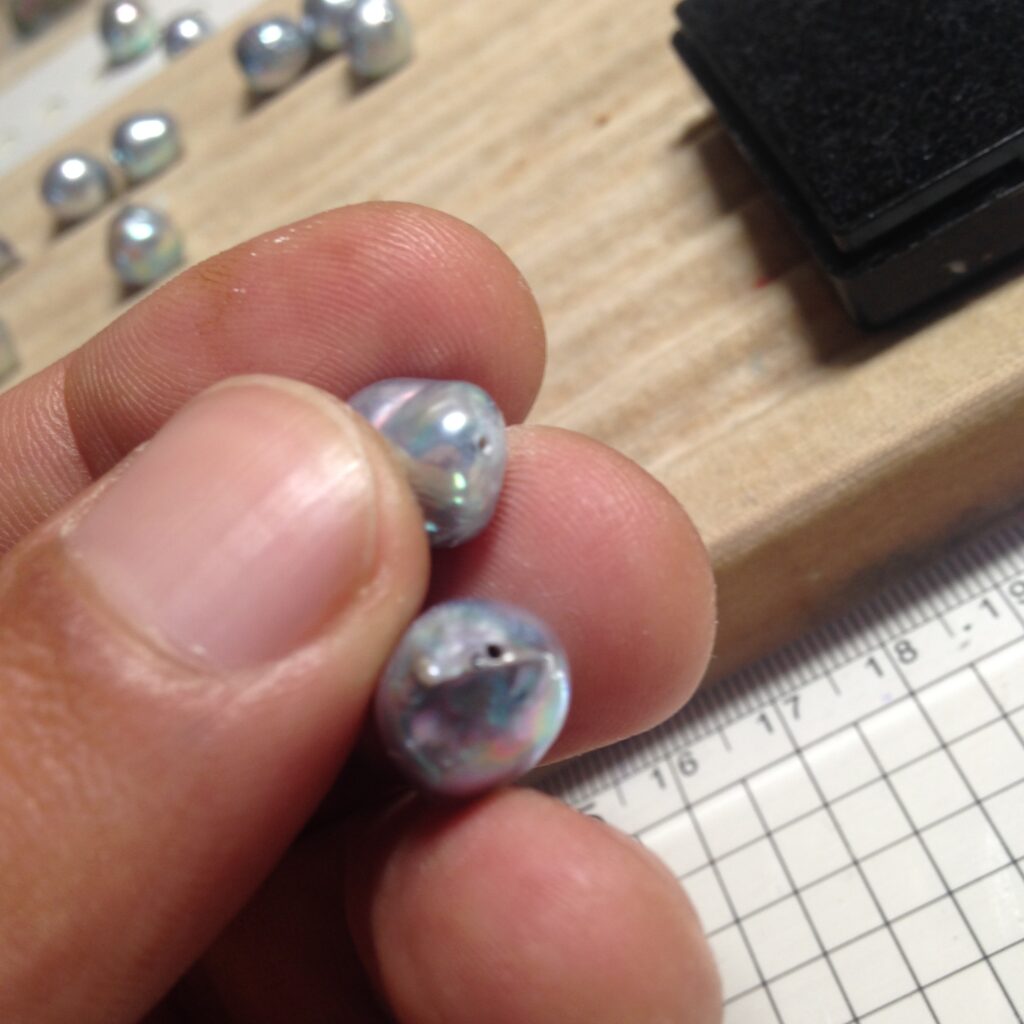
This pearl didn’t have a hole yet, so I drilled it. Pearls with sharp tips like this pearl are difficult to drill because the core of the drill escapes. This pearl was planed to capped with a silver-lip oyster cap, so it was relatively easy to drill for me. That’s right. This means that the drilled hole will not be visible in the hat.
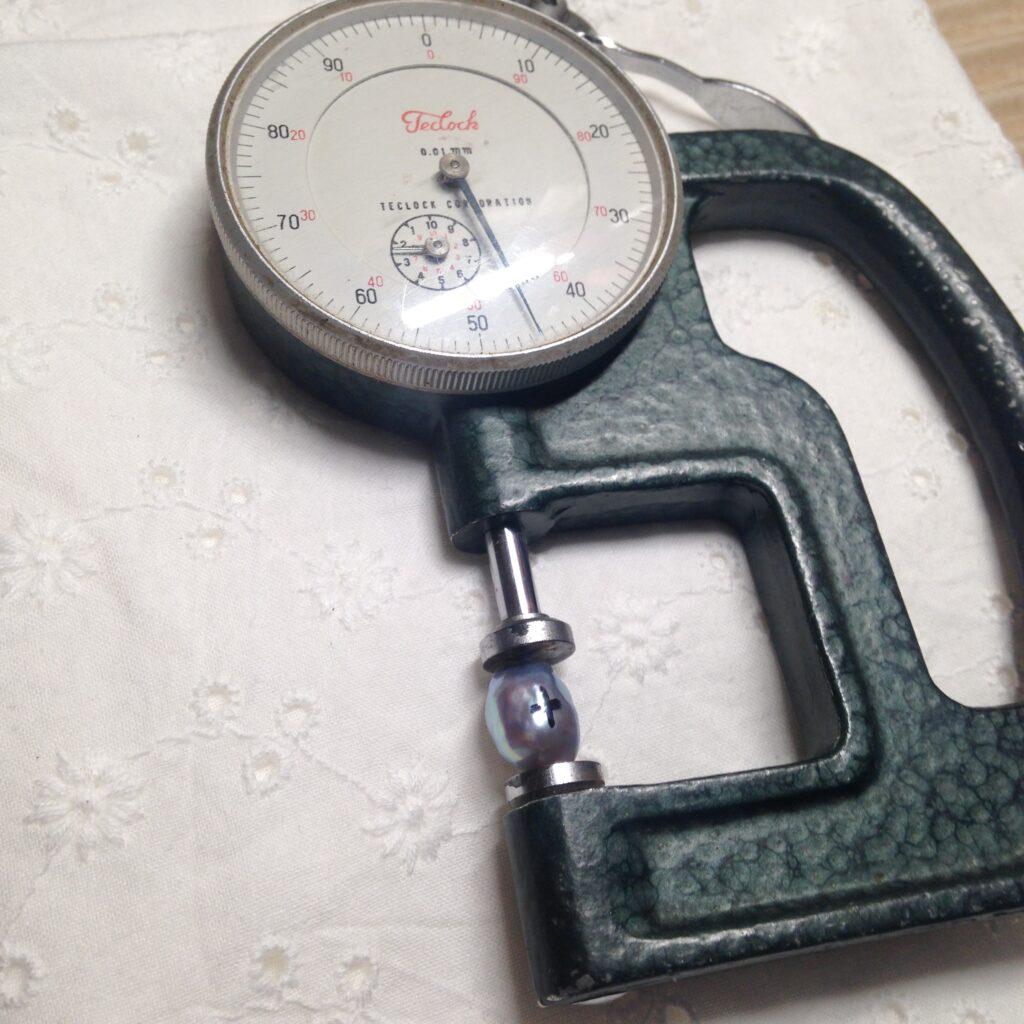
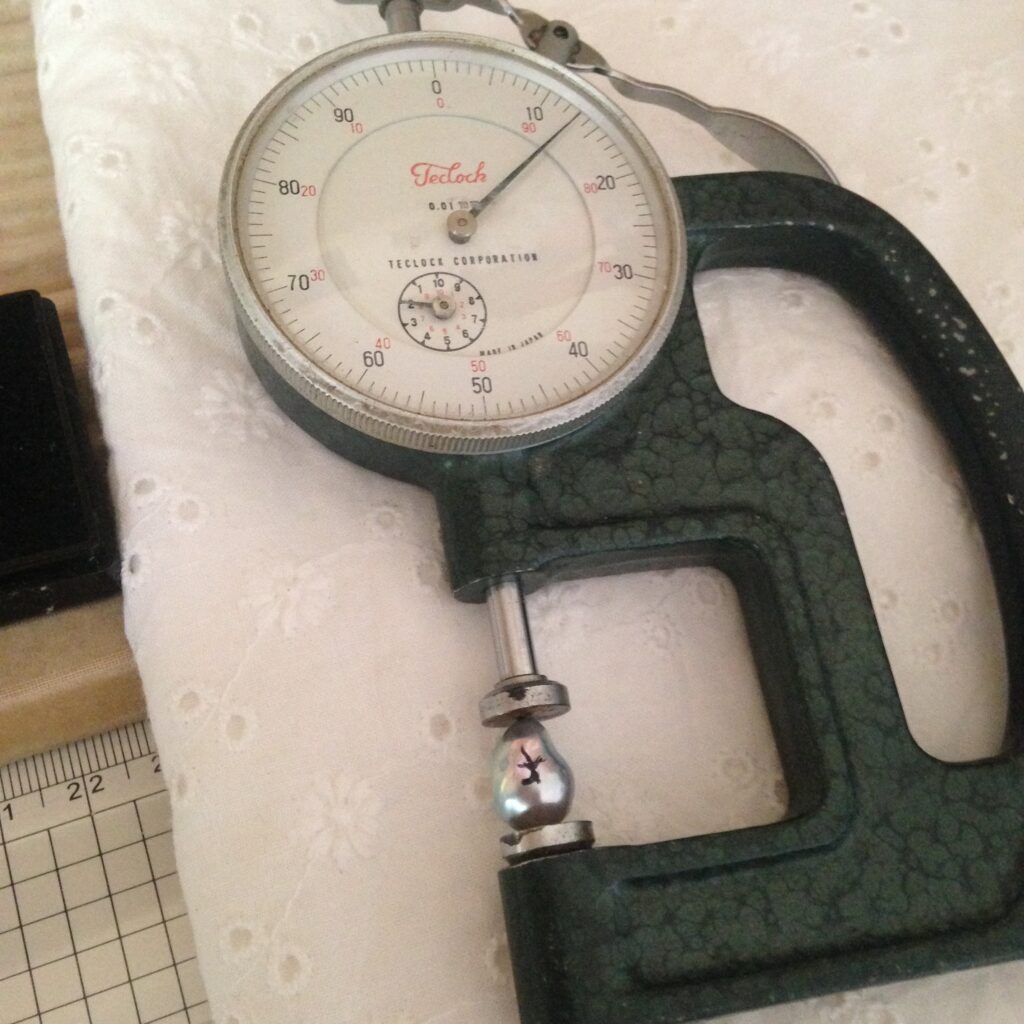
Measure the size before installing the hardware. The length of the two pearls was 12.45mm and 12.13mm respectively. Pearl size is measured at the narrowest width of the pearl. These two pearls are over 12mm in length, but the thin part is in the 9mm range, so the size of this pearl is 9mm.
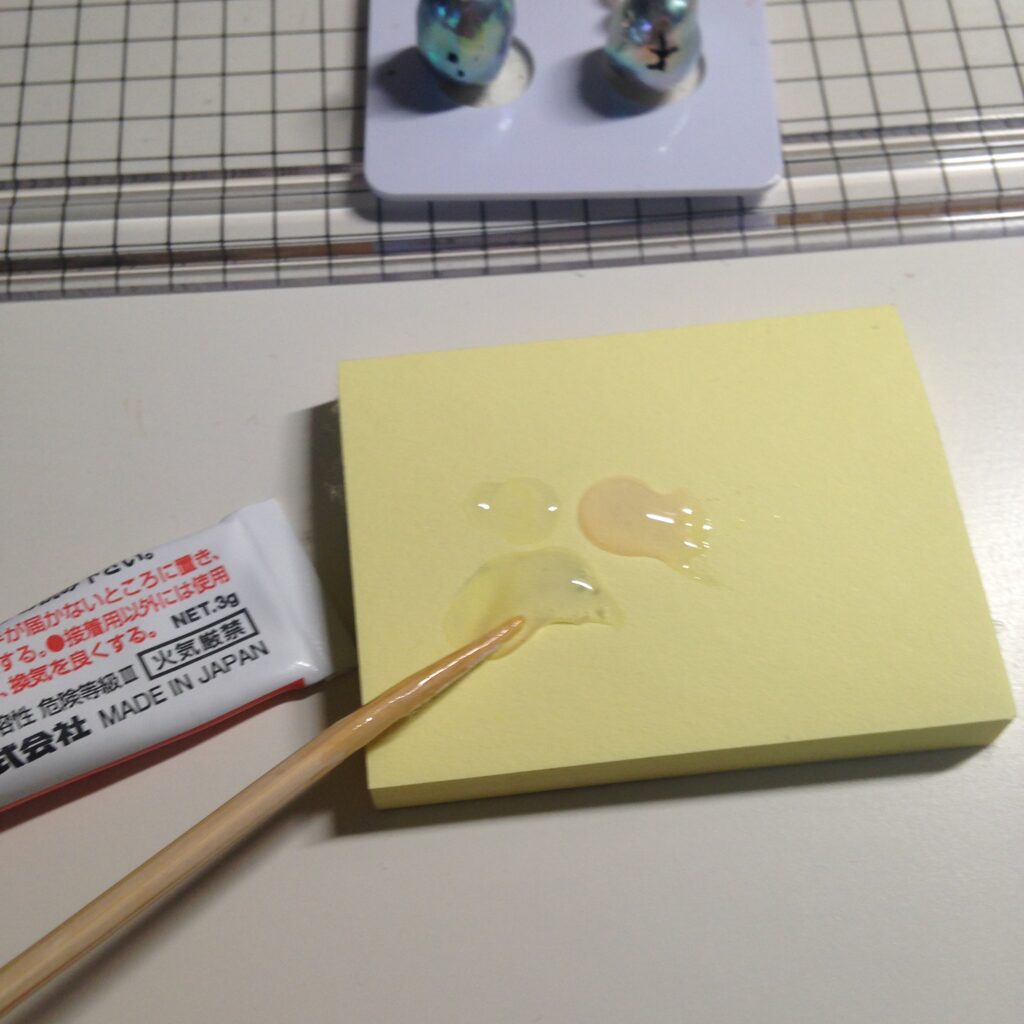
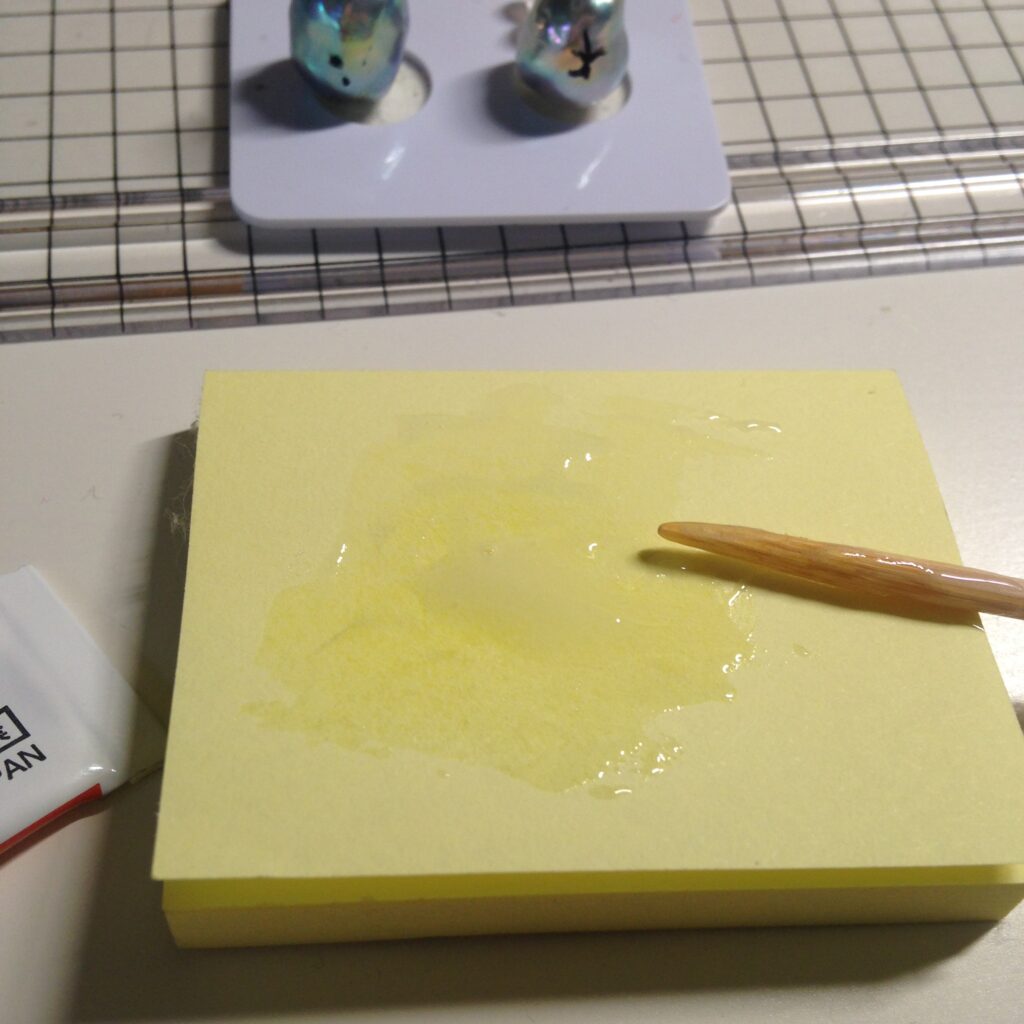
The adhesive used is commonly known as AB bond. When mixed, a chemical change takes place and they stick together for 30 minutes. It can be fixed very firmly. If by any chance you want to remove it, you can remove it by heating it by holding it over steam for several tens of seconds. The reason this bond is commonly used in the pearl industry is because it is a removable bond. I think that being able to exchange pearls and metal fittings for jewelry purchased in the past is one of the great advantages. Of course, it is also a great advantage for people like me who often fail to make accessories.
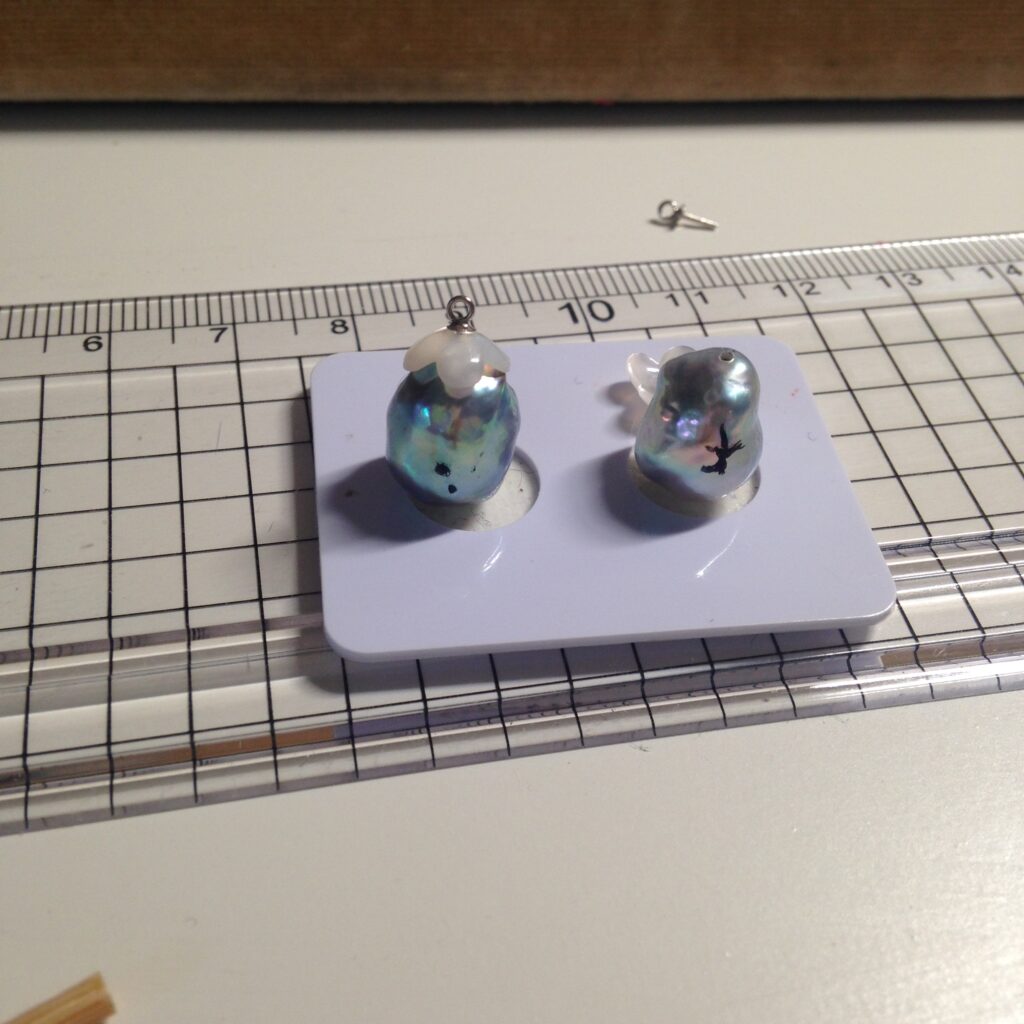
All I have to do is glue it on. I carefully matched the position and angle of the metal fittings and the Silver-lip oyster cap. This time, when I looked at the pearl and the hat after gluing them together, the balance was off, so I redid it. It was difficult to put a hat on a baroque with a strong personality because there was no right answer. Everyone has a different way of wearing a hat.
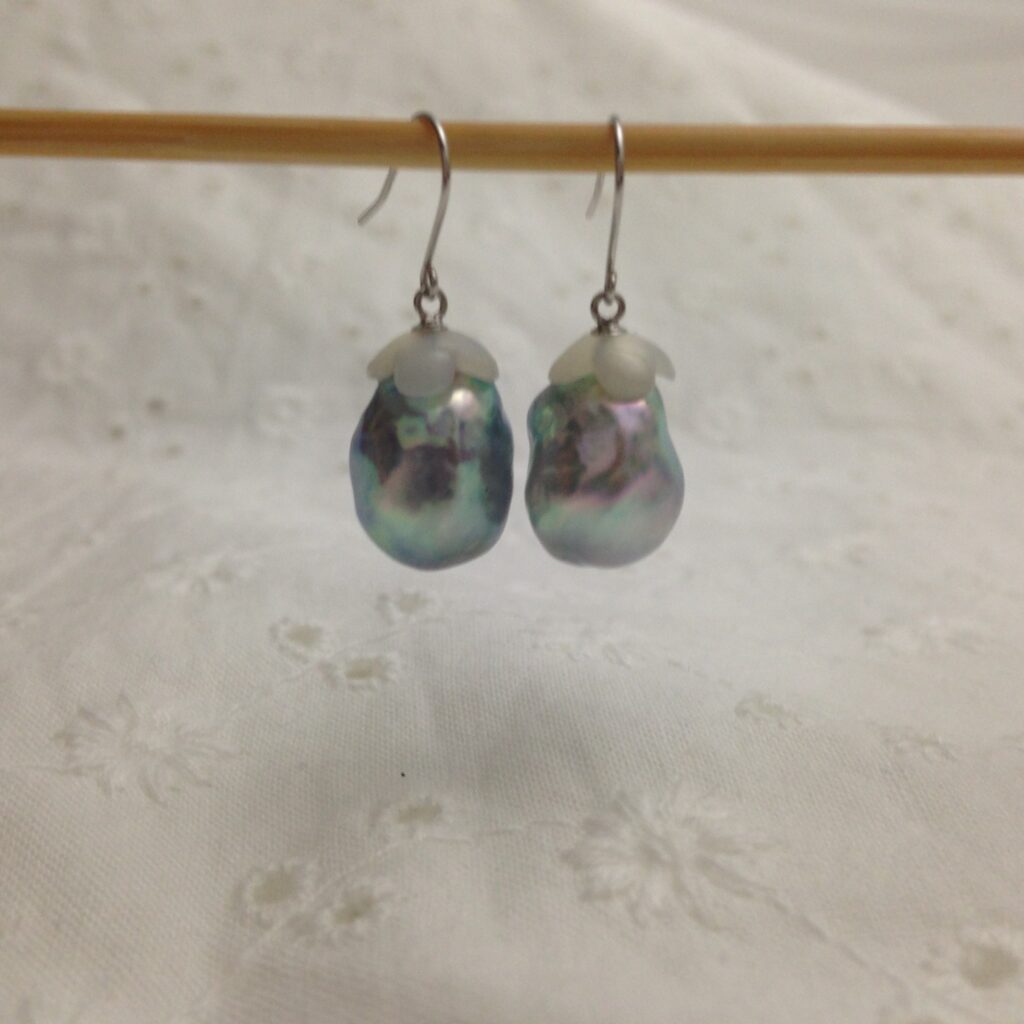
Finally, attach the earring hooks and it’s done. The Akoya oyster that nurtured this pearl spent two years in the sea, and the parents of that Akoya oyster spent two years in the sea giving birth to this child oyster. To give birth to the Akoya oyster that contains the nucleus of the pearl, it starts with raising the parents. I will write a proper blog post on this later.
Comment