
The other day, I sorted through the pearls that had been processed to completion. I did this to check for any defective pearls among the over 30,000 pearls. However, I found around 200 pearls with a very strong luster. They are extremely high-quality pearls, accounting for about 200 out of the 30,000.

I spent about a week considering what to make with those 200 pearls. Making pairs and turning them into earrings seemed like a reasonable option. However, even attempting to make pairs from 200 pearls would only yield about one-fifth of the total. At first glance, the 200 pearls appear to be similar. However, upon closer inspection, there are variations in color, shape, and thickness of the nacre layer, ranging from white to strongly pink, red, and brown. So I decided to take the plunge and make a necklace instead. While making earrings requires pairing two pearls of similar color and shape, making a necklace requires matching 56 pearls in terms of color and shape. It may seem more difficult to match 56 pearls than just two, but it’s actually easier to achieve a satisfactory result with 56 pearls as a whole. I’m not explaining this very well, but I hope you can understand what I mean.
I said that I would “take the plunge” and make a necklace, but these pearls only have one hole each. To make a necklace, two holes are required, or more specifically, a through-hole is needed. When comparing the value of pearls based on the number of holes, the order is typically no holes, one hole, and two holes. Pearls with no holes or one hole are those with no or only one wound, such as those used for rings or brooches. Pearls with two or more wounds are usually processed into necklaces with two holes.
In that sense, I needed a little courage to convert the single-drilled pearls into double-drilled ones. Since these pearls have a very strong luster, it might be appropriate to use them for earrings or rings in general. However, I decided to process them into a very high-quality and luxurious necklace by taking on the challenge of making a necklace with these pearls.
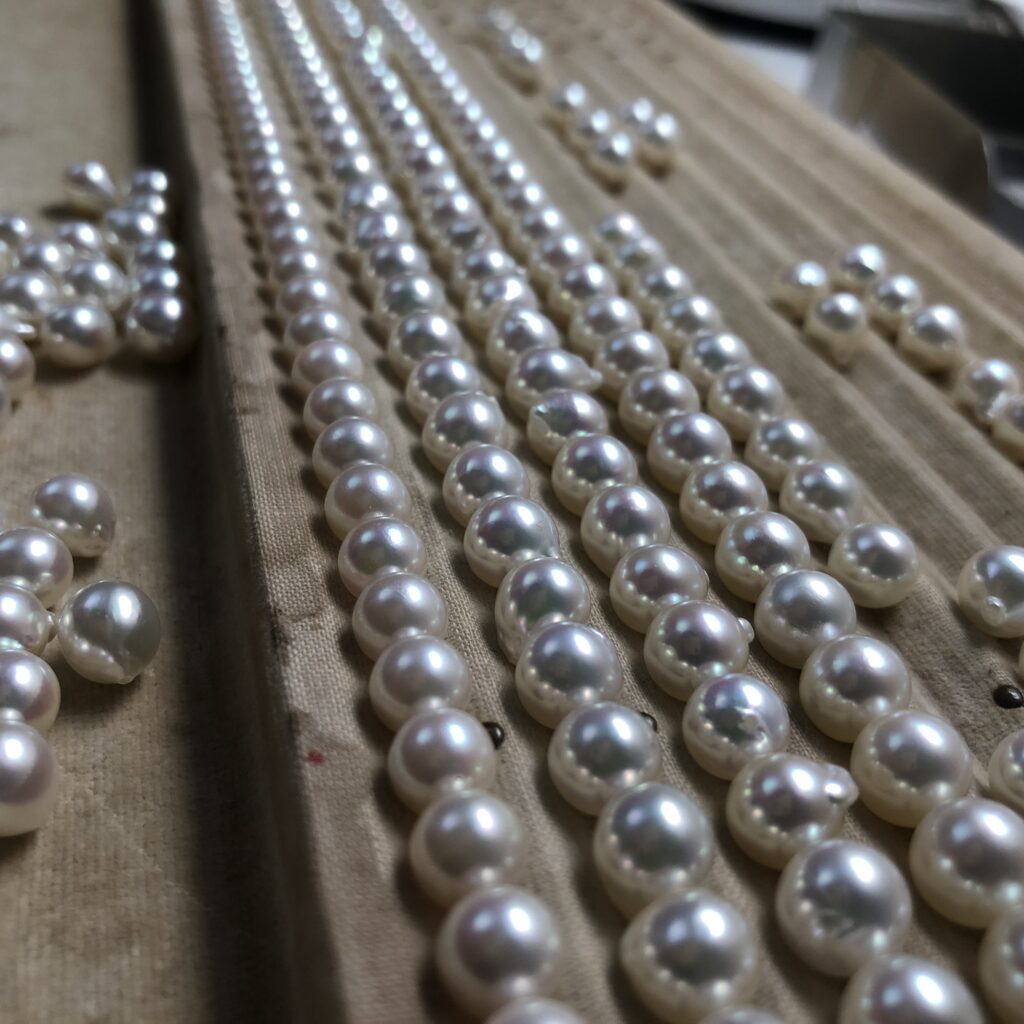


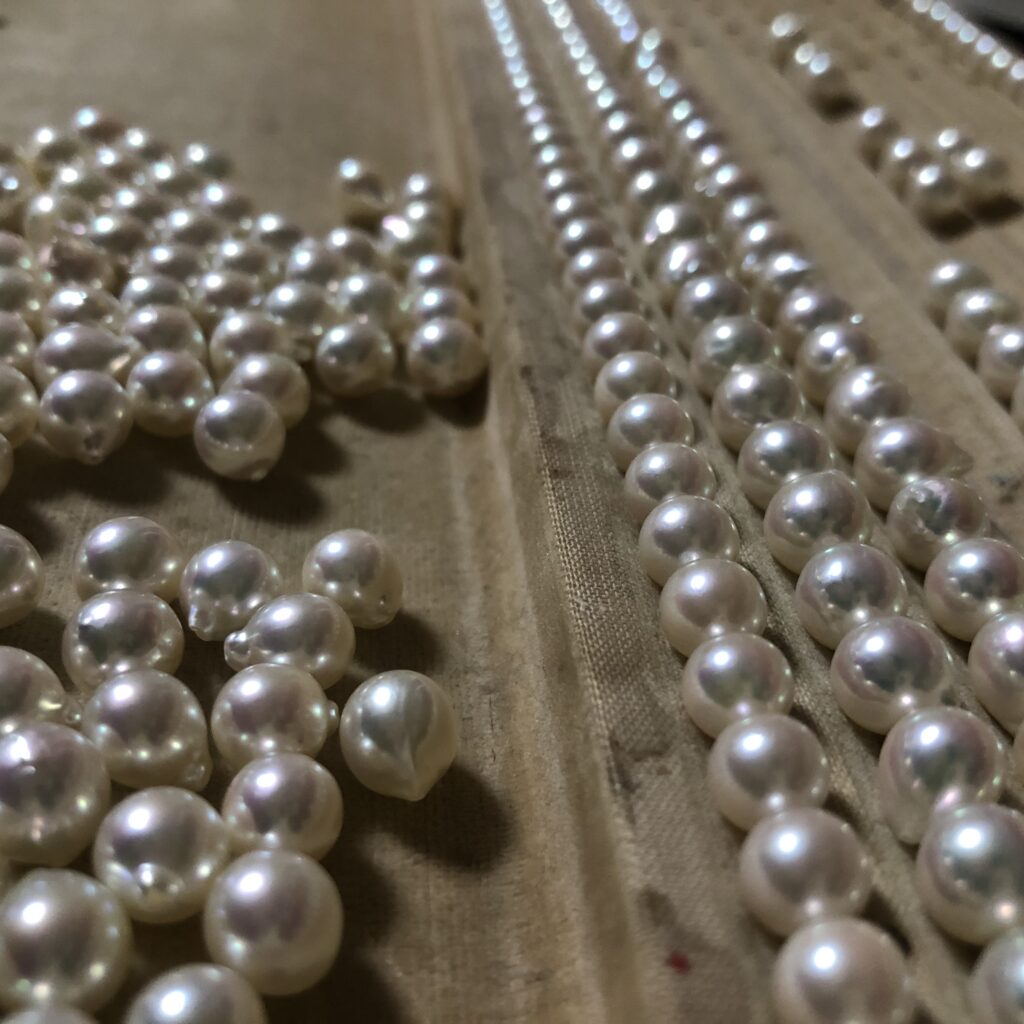
First, I select and arrange pearls with similar colors and thickness of nacre from nearly 200 pearls. There are various pearls with strong silver or red hues, but I patiently gather them through trial and error. I originally thought it would be good if I could make just one necklace, but I was able to come up with enough pearls to make two necklaces. While it may appear in the photo that there are several necklaces lined up, I have actually arranged pre-made necklaces on the same table to help correct my own eyesight. Looking at various pearls without any sense of consistency can make my eyes feel strange, so having a standard like a lighthouse is very helpful in such situations.
I drilled holes through the pearls as it seemed possible to make two necklaces out of them. This video was shot while holding a camera in one hand, so the process is slow, but I was able to drill at a pace of about 400 pearls per hour. It takes roughly 10 seconds to drill a hole through one pearl.

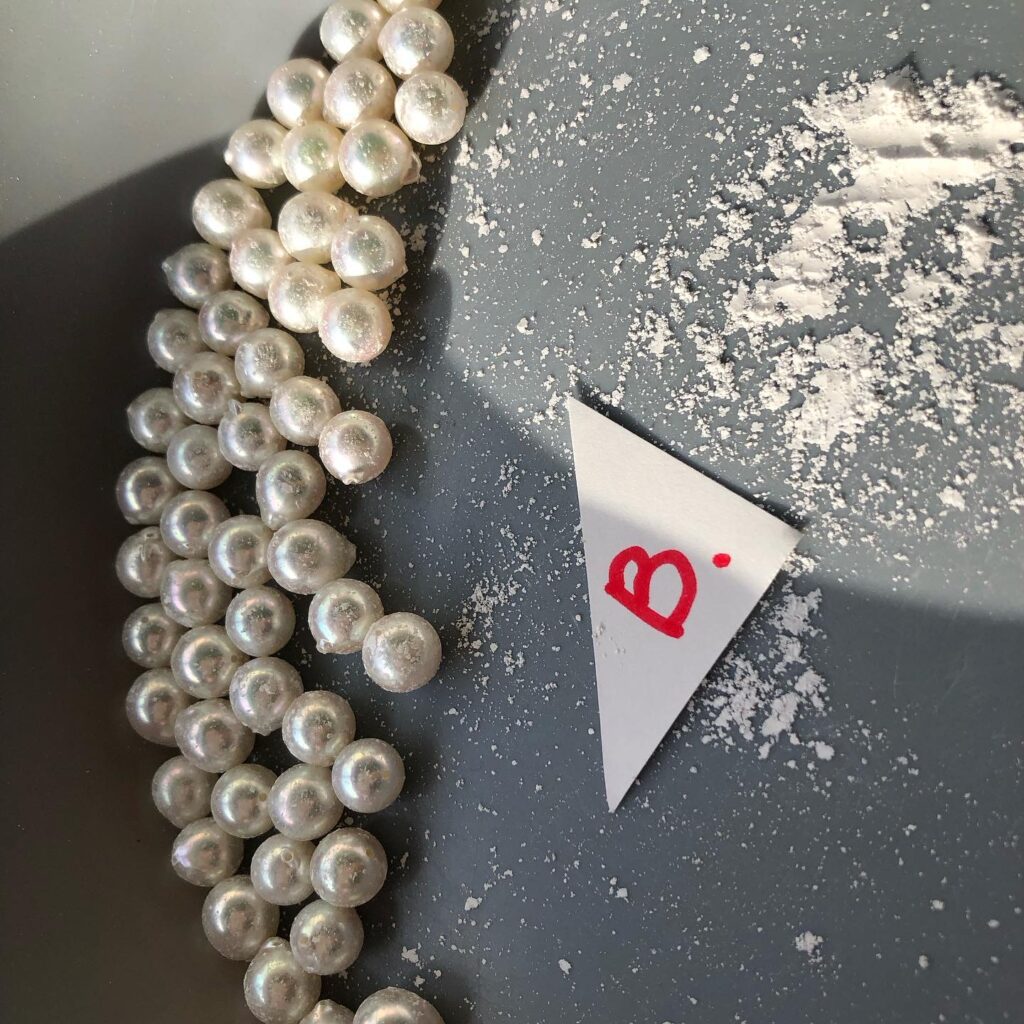
When making a hole in the pearl, as shown in the image, the pearl will be covered in powder. To clean off the powder, it is washed and then dried.
The pearls are washed using a rotating, round wooden barrel. Even pearls that have just been harvested from the sea are cleaned in this way, and the salt from the ocean is removed. People often ask, “Won’t it get damaged?” but there is no problem. Pearls are durable.
The pearls are shining brightly now, aren’t they?
This is the specialized dryer for pearls. You might worry if it would scratch the pearls, but there is no problem.

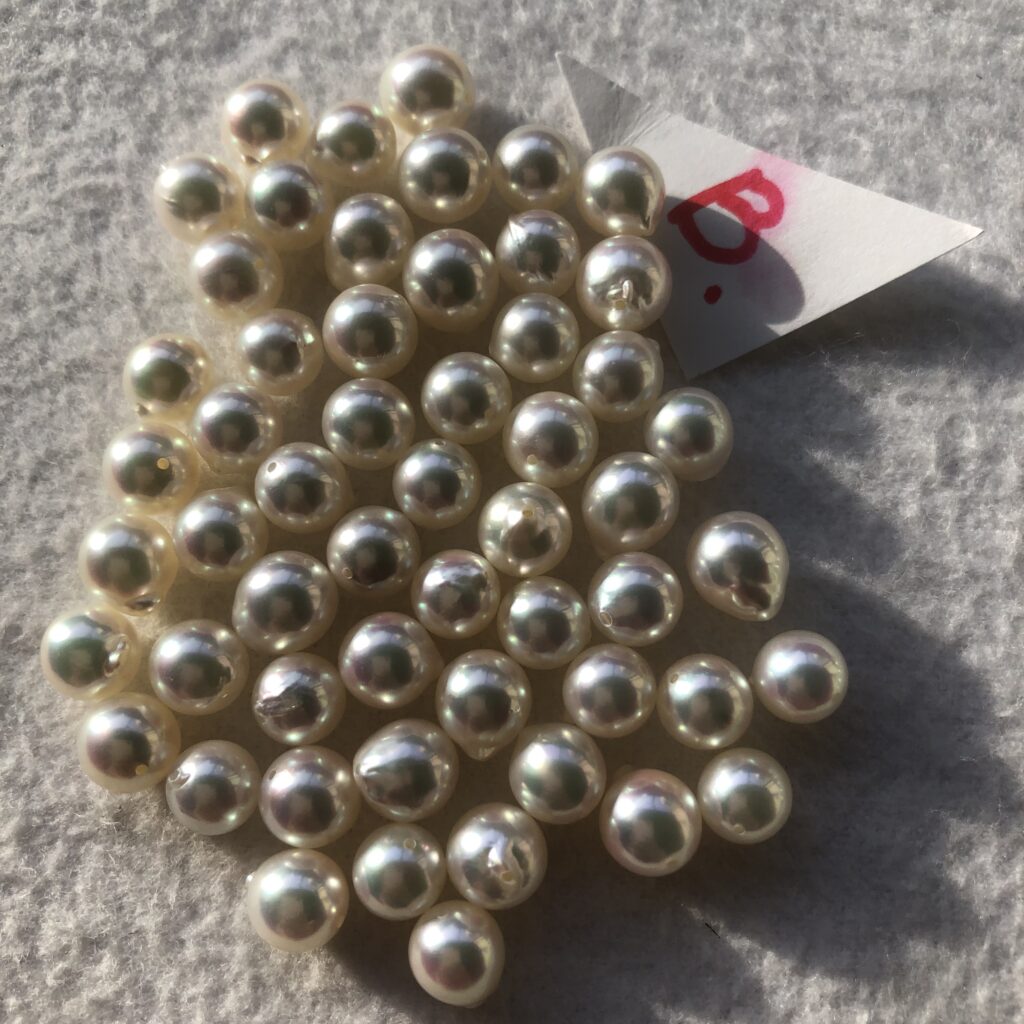
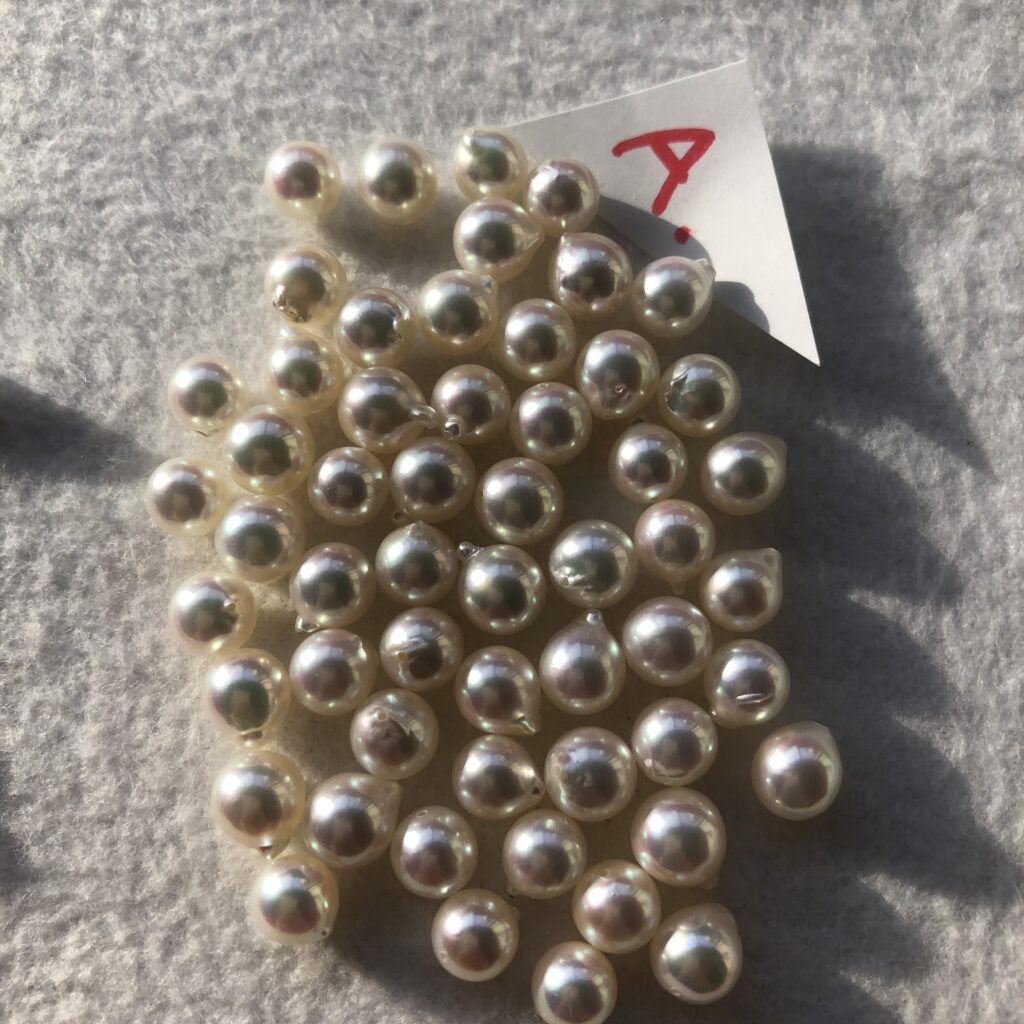
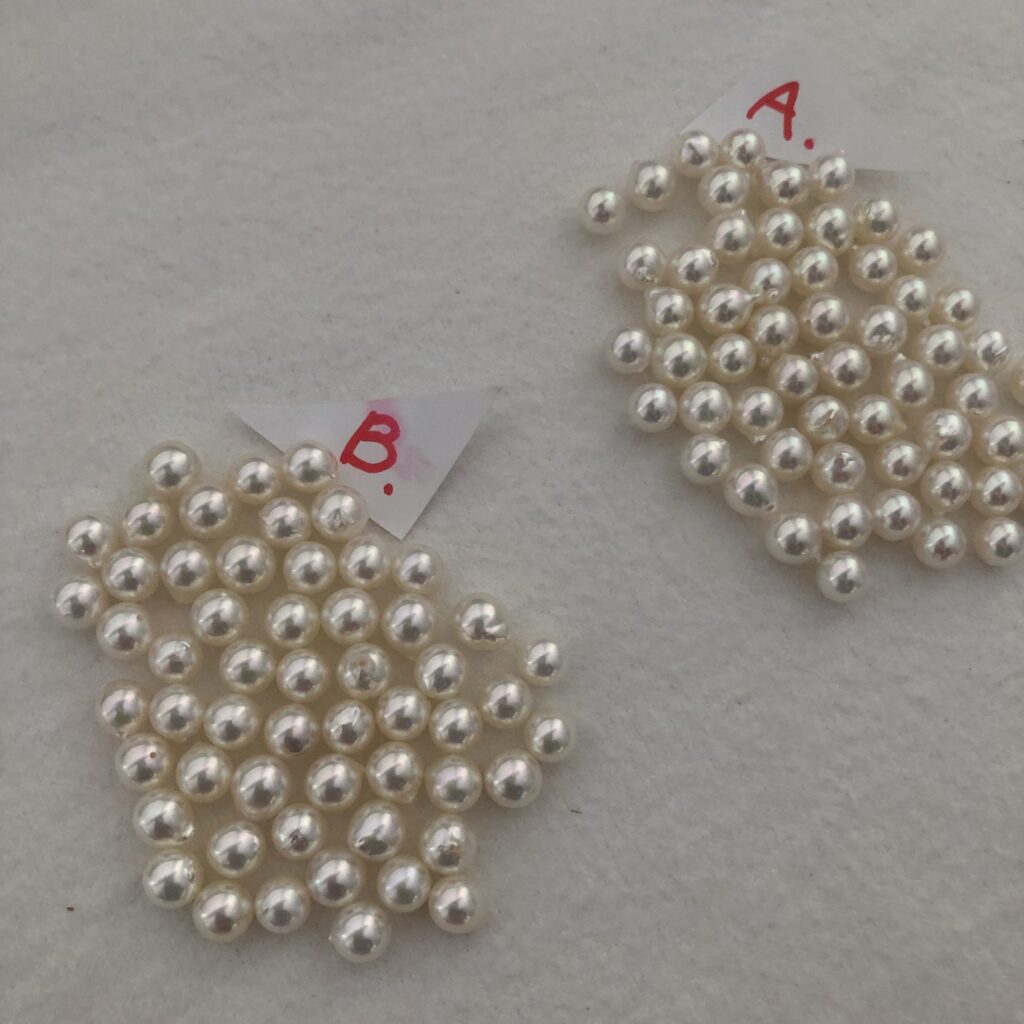
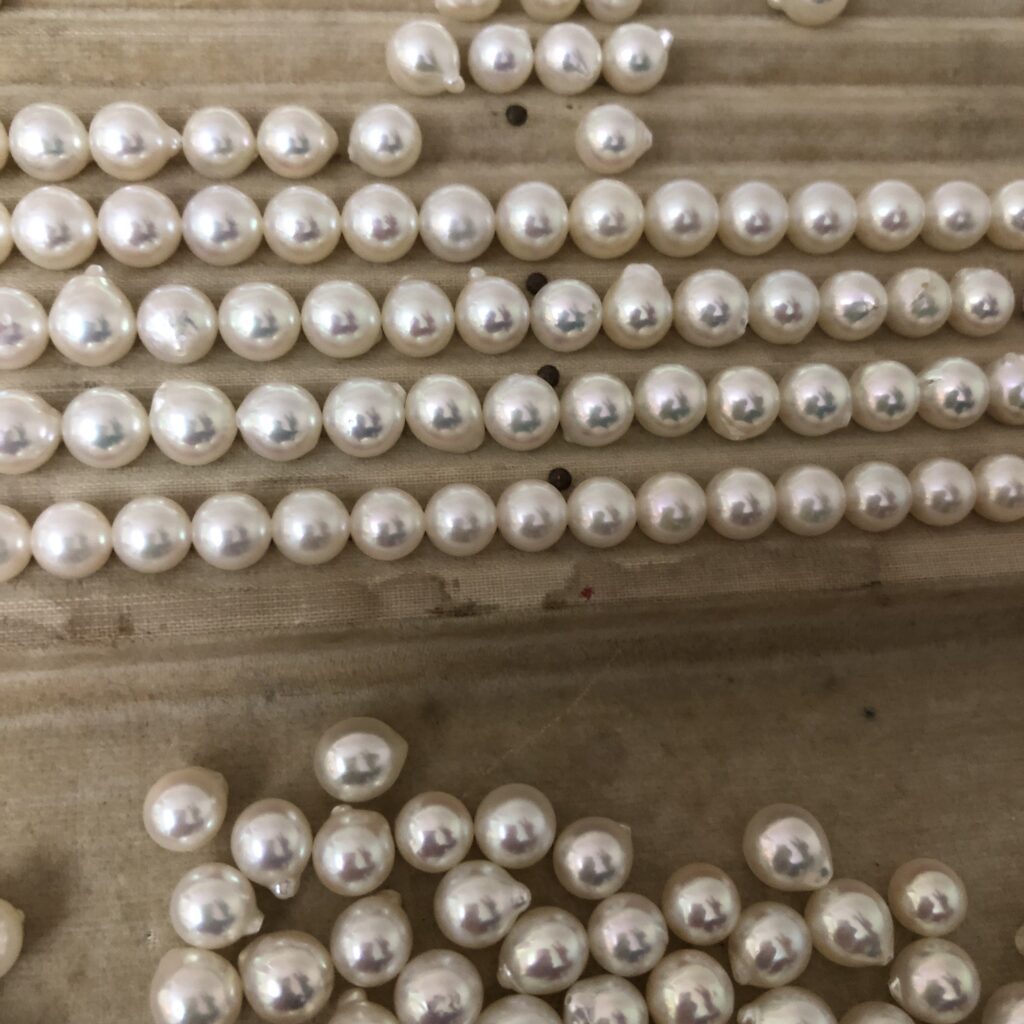
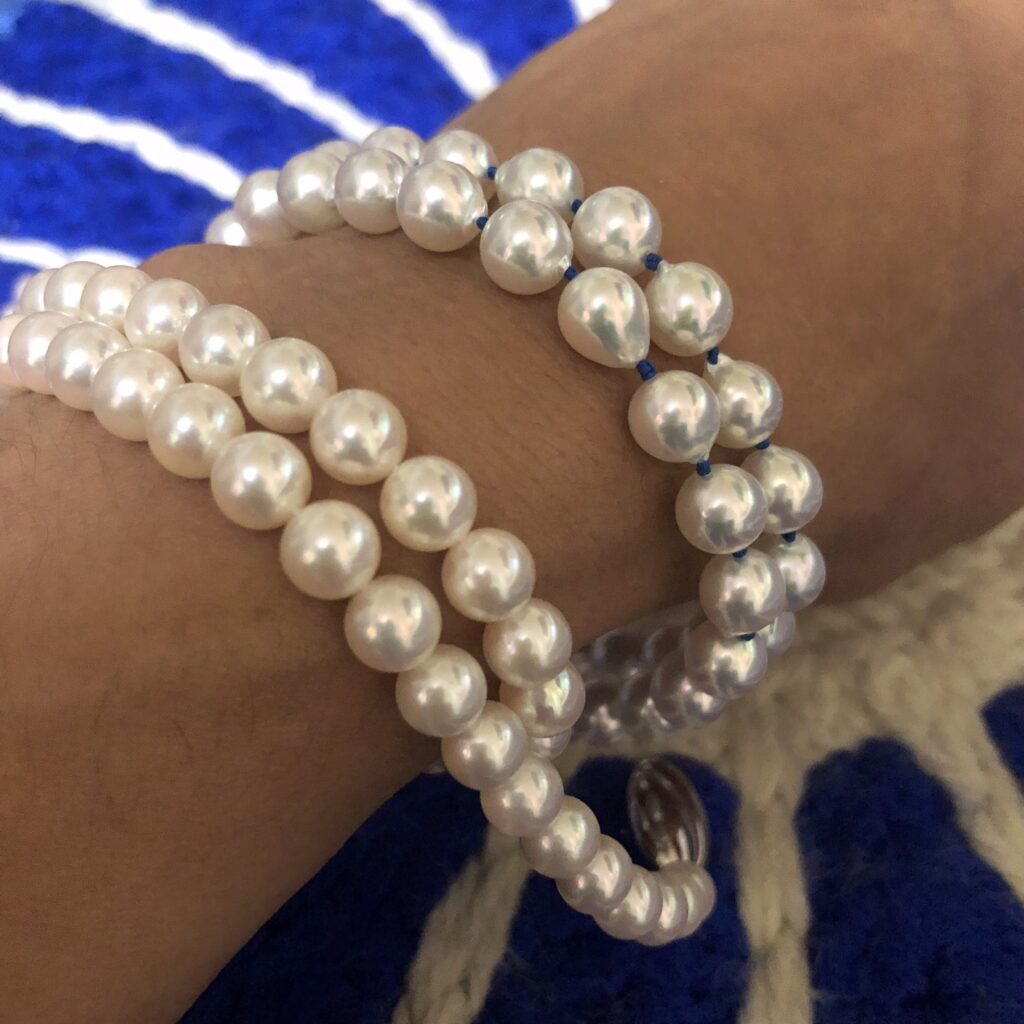
I have labeled the pearls that will make up the two necklaces as A and B. The difference between them can be seen somewhat in the images. Additionally, it can be observed that the appearance of the pearls varies quite a bit depending on the intensity of the light.
The pearl drilling and washing are finished. Let’s start making the necklace. The pearls are arranged in two rows, matching their colors and sizes as symmetrically as possible. The right side of the video will become the center of the necklace, while the left side will become the bottom.
Once the pearls are arranged, they are threaded onto the string. For the first pass, the pearls are simply threaded onto the string without any knots or anything else being added.
As a procedure, once the pearls are lined up, they are threaded onto the string. For the first time, the pearls are simply threaded onto the string without creating any knots. On the return process, knots are made on the string that was threaded through the pearls. I make two knots at a time to emphasize the colored thread.
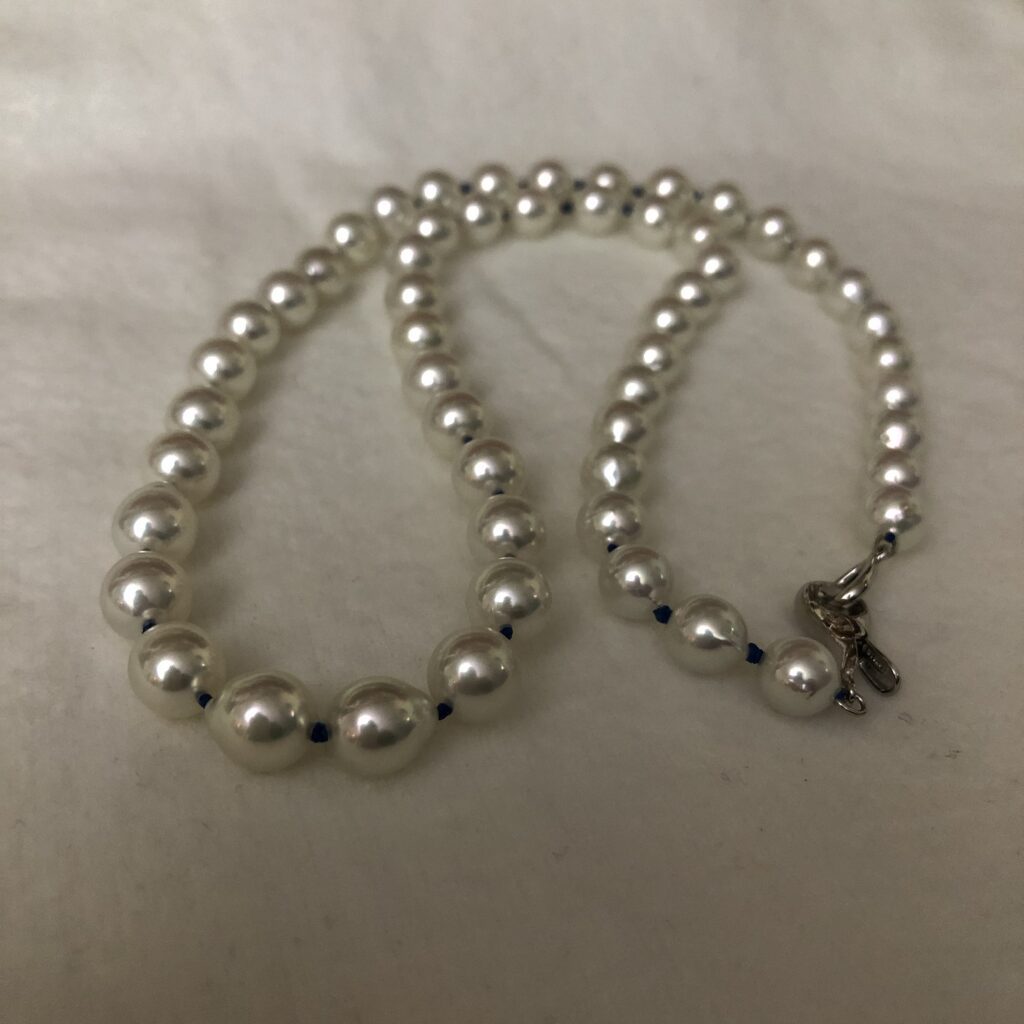
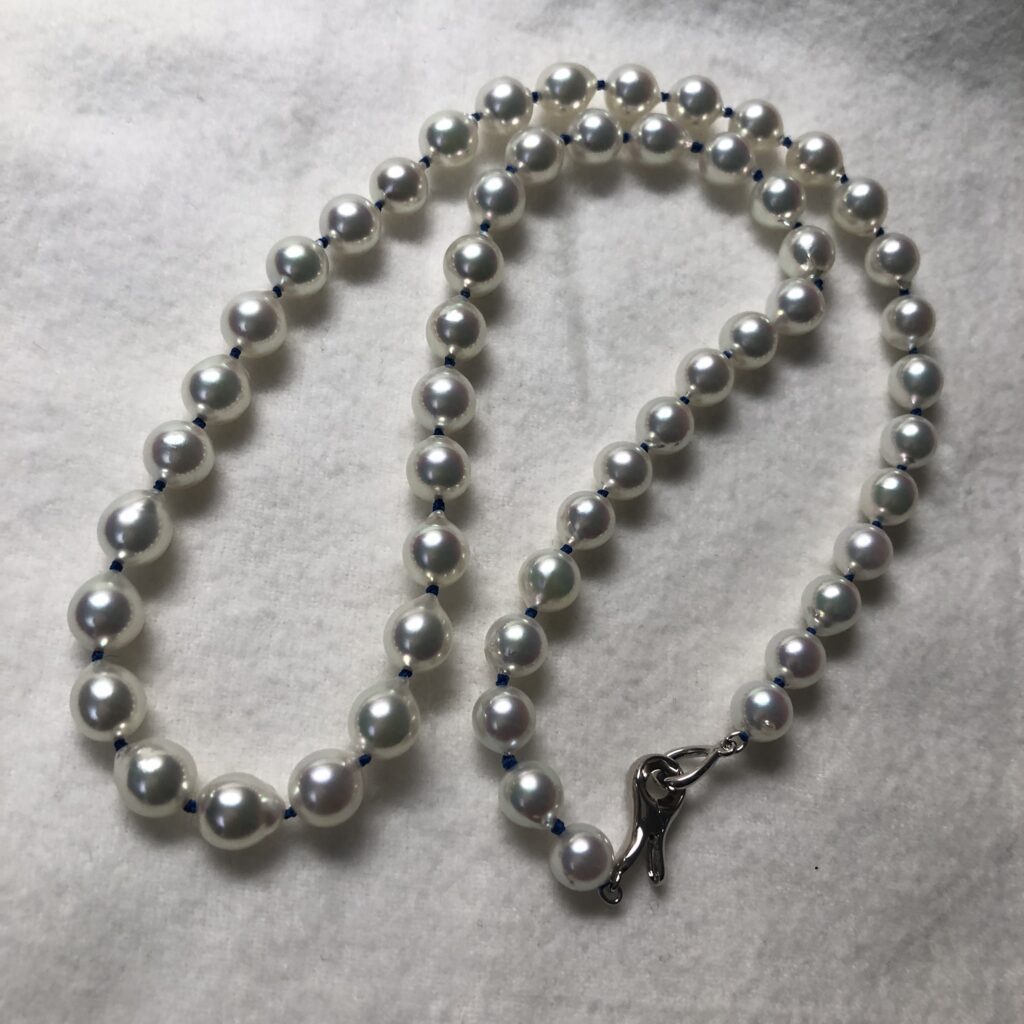


This necklace is made of B pearls, but they look completely different in color from the pearls before they were made into a necklace. The appearance of pearls can vary depending on factors such as the difference between sunlight and electric light, and whether the pearls are close together or far apart, to the point where I even wondered if they were really B pearls. On the other hand, perhaps the fact that the appearance of pearls can change depending on the environment and conditions is also part of their charm.
The luster of the pearls in the necklace I made this time is overwhelmingly the highest class among the pearls I handle. I tried to convey this through videos and photos, but it seems to be quite difficult to do so. In the case of the necklace with pink and red mixed colors in the above video and the white-ish necklace made this time, the difference in their radiance can be seen with the naked eye, like the difference between a 40-watt incandescent light bulb and an LED light. However, there seems to be little difference in the videos. Nevertheless, you may be able to perceive the strong presence of the pearls. There is also a considerable difference in the thickness of the pearl layers. However, I have recognized the challenge of being able to express these differences in videos and photos.
This photo was taken after trial and error, in order to make the differences more easily noticeable. Previously, I used to create products, write descriptions on Etsy, and post 10 photos. But now that I have my own website, I can express my feelings about these pearls to my heart’s content, which is very enjoyable. This afternoon, while making this necklace, the pearls were so beautiful that I took pictures of the process. I didn’t take these photos to post them, but simply because they were beautiful. So these processes were not work for me, but rather a pleasure. Today was a day off, but I was engrossed in these activities from noon until 2 am. That’s how much this necklace excited me.
Comment